Would you like to experience the enchanting atmosphere of winter all year round? Snow globes are like tiny worlds that carry that magical winter scene right into our palms. The snow particles slowly falling inside the glass sphere invite a small fairy tale realm into our homes. Plus, you can make this eye-catching decorative item yourself! In this article, I’ll explain all the details of a fun DIY (Do It Yourself) snow globe activity for both children and adults.
1. Gathering the Necessary Materials
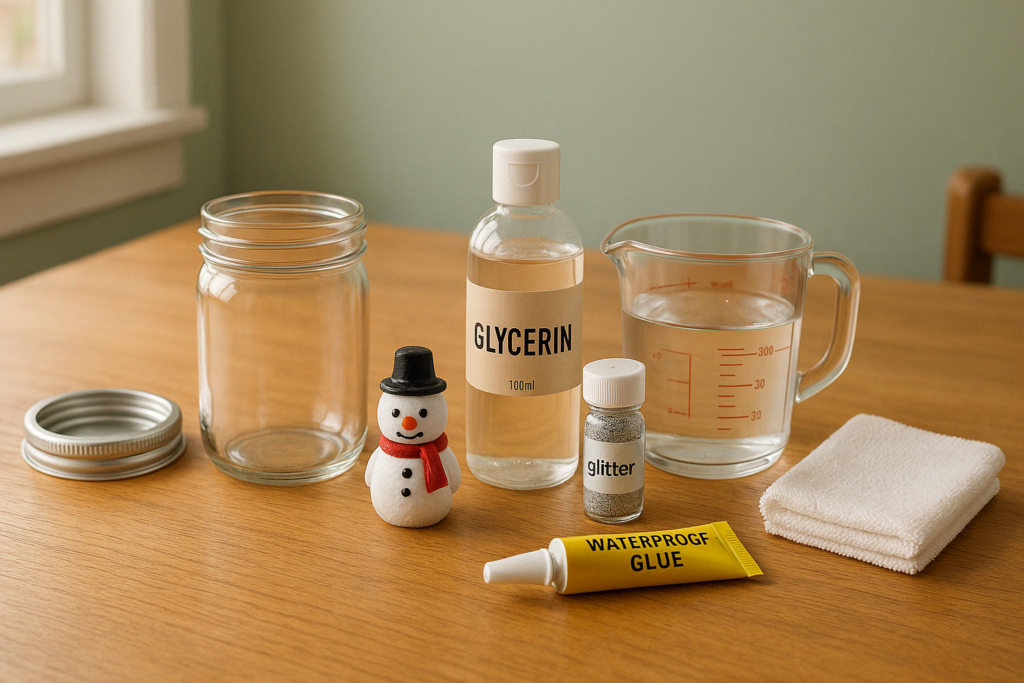
Here are the materials you’ll need to make a snow globe:
- Small glass jar (approximately 200 ml capacity, could be a food storage jar).
- Mini figurine (Suited to the snow globe’s theme; for example, a snowman or small pine tree).
- Clear glycerin (Available at pharmacies or hobby supply stores).
- Water (Lukewarm or room temperature).
- Glitter (Fine silver glitter is particularly suitable for a winter theme).
- Waterproof adhesive (Silicone or a strong glue will work).
- Optional various decorations (Adhesive gems, ribbon, stickers, etc. for external decoration).
With these materials, it’s possible to create the winter scene of your dreams. The main component of a snow globe is a glass jar. The liquid mixture inside allows the glitter to move slowly and harmoniously in the water. Glycerin increases the density of the water, helping the glitter fall more slowly. If you can’t find glycerin, you can also use alternative products like baby oil or clear hand soap.
2. Cleaning the Jar
The cleaning phase is often overlooked but actually very important. If there’s dirt, dust, or oil residue in your jar, it can cause unsightly contamination in the snow globe over time. Therefore, carefully wash the jar and dry it with a cloth. If you want to avoid issues with liquid mixing and aim for long-term use, you can also wipe the jar with a vinegar-water solution and rinse it for extra hygiene.
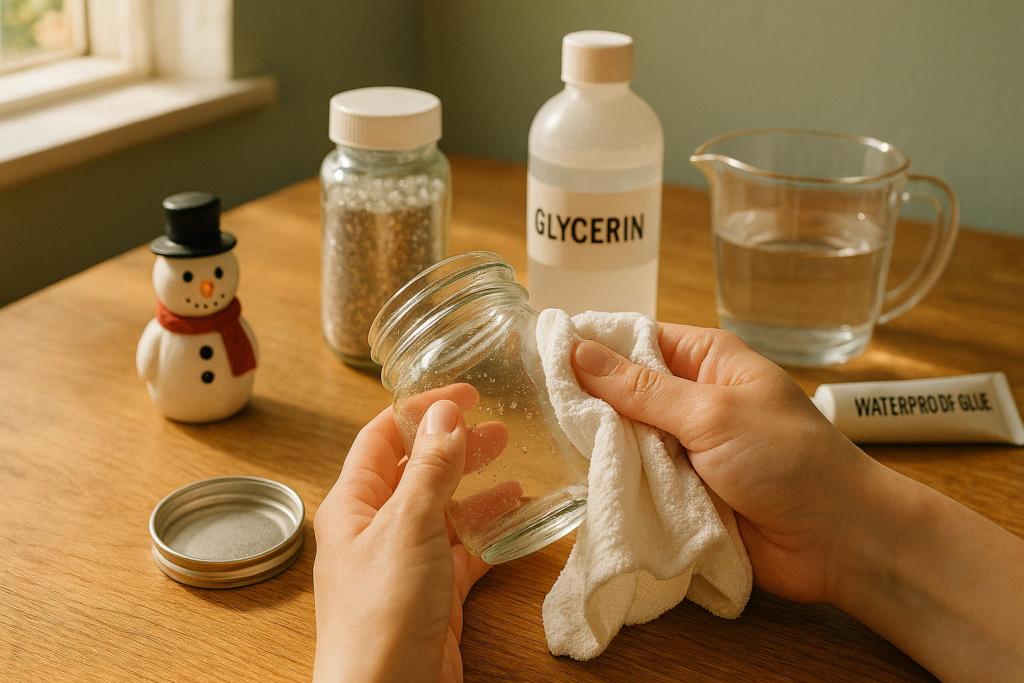
At this stage, you’ll feel ready when your jar is sparkling clean. Kids also love being involved in this step; cleaning with a wet cloth and rinsing is a simple but fun task.
3. Attaching the Figurine to the Lid
One of the most charming moments of making a snow globe is selecting and placing the figurine. The figurine that sits in the center when you look at the snow globe creates the main theme. Some people use a snowman, Christmas tree, or tiny baby for this step. You might even see a small car, dinosaur, or beloved cartoon character in some DIY projects. However, make sure to choose a waterproof figurine.
- Use waterproof adhesive. It’s especially important that this adhesive creates a strong bond between the jar and the figurine.
- Place the figurine in the center of the lid. This ensures symmetry and aesthetics when viewed from outside.
- Don’t turn the lid upside down until you’re sure it’s firmly secured.
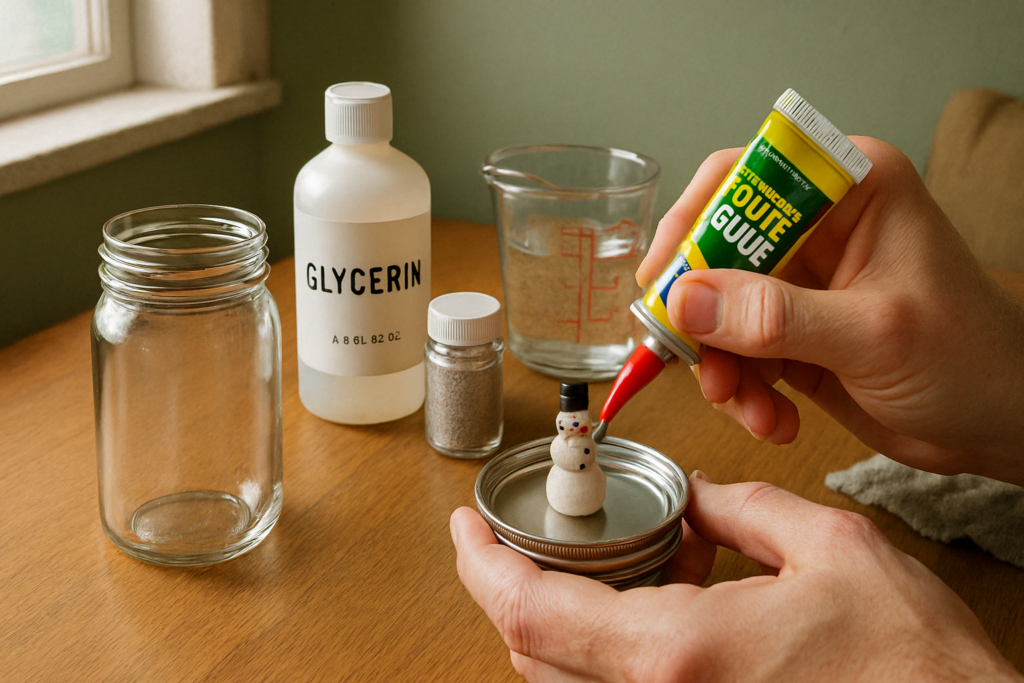
When this step is completed, the most fundamental part will be done. Now all that remains is filling the jar and adding the finishing touches.
4. Adding Liquid and Glitter to the Jar
Now the fun part begins! A mixture of water, glycerin, and glitter is typically used to create the magical snow effect inside the snow globe. Glycerin adds slight density to the water, allowing the glitter to float down slowly. This way, when you shake the snow globe, the glitter particles move more heavily and create a pleasant snowfall sensation as they drift for a long time.
- As a ratio, using 1 part glycerin to 3 parts water is generally recommended. You can increase or decrease this ratio according to preference.
- The amount of glitter is also up to personal preference. Using too much glitter can make the inside of the globe look too cluttered. Keeping it at a moderate level is best.
- If desired, you can create a colored snow globe by adding a few drops of food coloring or fixed dye to the water. However, a transparent appearance always looks more classic and elegant.
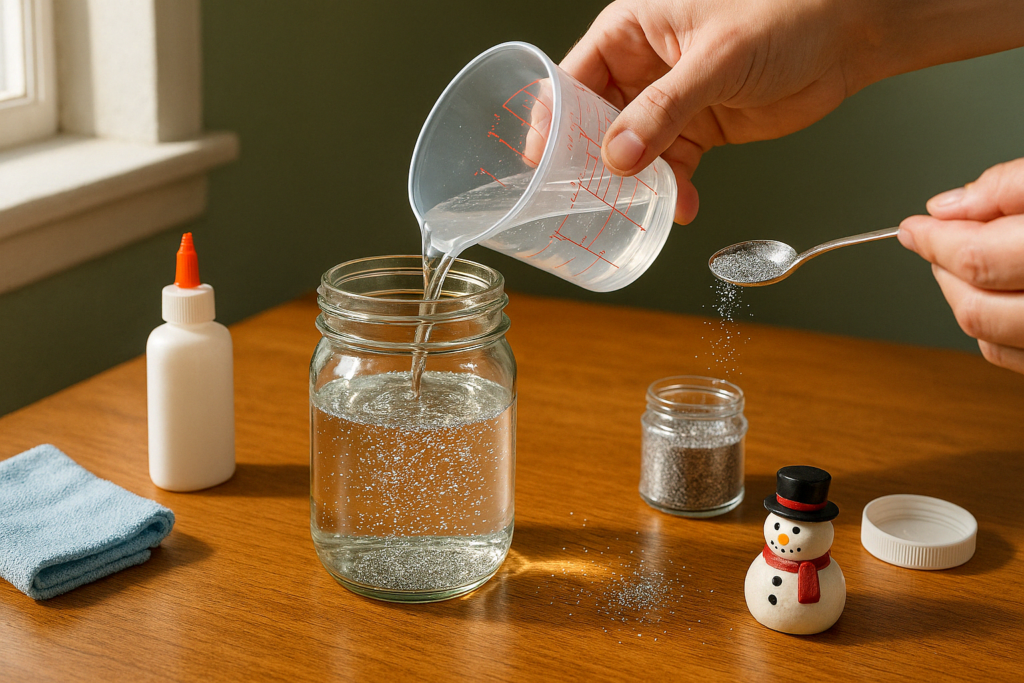
You can fill the liquid almost to the top of the jar, but it’s important to leave enough space so that it doesn’t overflow when you close the lid. Otherwise, water might spill out when you tighten the lid.
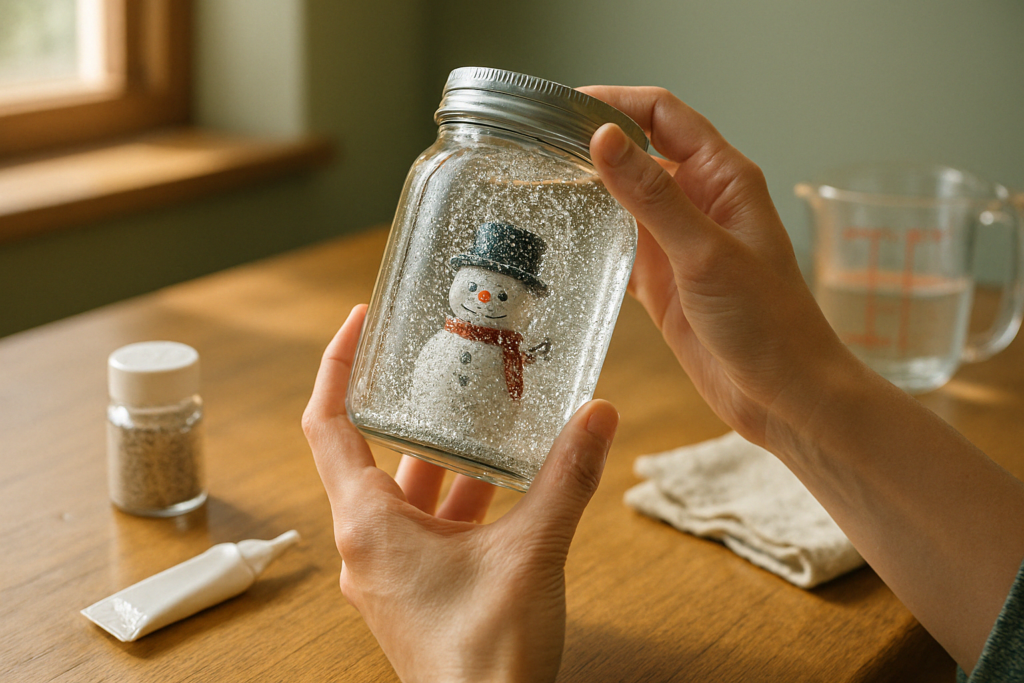
5. Completing the Snow Globe
Now we’ve reached the final stage. Have you secured the figurine you attached to the lid into the jar filled with water and glitter? After tightly closing the lid, turn the snow globe upside down and here comes the magical moment: A small snowstorm will form around your figurine as the glitter gently floats in the water!
- Perform a leakage check. Some water seepage might be normal; clean it up and check the edges again.
- If desired, you can apply extra adhesive or hot silicone to the edge areas for sealing purposes.
- Wipe away any stains or fingerprints to ensure the glass surface looks clean.
When this fifth step is completed, you’ll have a homemade, unique snow globe. After this stage, you can completely personalize your globe by adding decorations such as ribbons, adhesive gems, or stickers around it if you wish.
Final Touches and Notes for Parents
- External Decoration: Adding small touches with ribbons or sparkly tapes to the outside of the snow globe both enhances visual appeal and reflects your child’s imagination.
- Gift Idea: These types of handmade snow globes can be great gift options for New Year’s or special occasions. You can create special themes for your loved ones especially with the figurines you put inside.
- Safety: Your adhesive should be water and impact resistant. If you’re considering adding sparkly beads to the snow globe, make sure small pieces are secured so that children cannot reach them.
- Cleaning and Maintenance: For long-term use, you can prevent the glitter from clumping by occasionally shaking the snow globe. You don’t need to open the jar’s lid; it can remain intact for a long time if you sealed it waterproof.
- Developmental Benefits for Children:
- Hand-Eye Coordination: Combining, pouring, and decorating materials develops children’s fine motor skills.
- Creativity: Choosing their own themes, using different colored glitter or figurines supports children’s imagination.
- Sense of Responsibility: Completing a project from start to finish gives children confidence and a sense of responsibility.
- Scientific Learning: Allows them to learn basic scientific concepts such as liquid density and material mixing through experience.
Suggestions for Parents
- Supervision: Adult supervision is essential when doing this project with young children. Be with them to eliminate any risk of swallowing or skin reaction since adhesive and small parts will be used.
- Creative Alternatives: How about giving children complete control during snow globe making? Maybe an ocean theme, maybe a space theme—they can push boundaries with their imagination.
- Fun Additional Activities: After the snow globe is completed, children can use it in storytelling activities. For example, you can create a fairy tale related to the snow globe and tell it to each other.
Making a snow globe at home is an activity that strengthens family bonds, encourages creativity, and instills a sense of responsibility in children. It’s also an economical hobby project since most of the materials you’ll use can be found at affordable prices. As both a labor of love and a visual delight, it will always remain a treasured memento.
In this blog post, I’ve shared a detailed materials list, a practical guide in five steps, visual prompts suitable for each step, and subsequent maintenance recommendations. Snow globe making is one of the most popular topics especially in DIY blogs and family activities. You can also share this recipe on your blog or social media accounts to help people join in on the winter fairy tale at home.
Finally, remember that there are no rules in creative projects! You can use whatever figurines, colors, and decorations you want. What matters is that the process itself is fun and educational. The value of this enjoyable time spent with your children or loved ones is above everything. I wish you happy and sparkling snow globes already!

