Making sensory boxes with children at home is both a fun and educational activity. This activity contributes to the development of children’s sensory skills while encouraging their creativity. Offering the opportunity to spend quality time as a family, this activity gives children the chance to explore the world through their different senses. From gathering the necessary materials to preparing the box by choosing a theme, from playtime to organizing educational activities, every step has been carefully thought out to ensure that children learn while having fun. In this guide, we explain in detail how to prepare a sensory box activity step by step.
Collecting Materials
The first step in creating a sensory bin at home with children is to gather the materials you will need. Here are a few examples of the variety of these materials:
One large plastic container or shoe box: This will form the base of the sensory box. Transparent containers make it easy to see the materials inside, while closed boxes add an element of surprise.
- Filling materials: You can use ingredients that can be found in the kitchen, such as rice, dried beans, pasta. These materials can be used to fill the box and provide a place for children to dig and explore.
Small toys, plastic animals, seashells: These materials, chosen according to your theme, provide interesting objects for children to explore and play with. - Tools: Tools such as spoons, scoops, tweezers are tools that children can use while exploring the materials in the box. These tools develop fine motor skills and make play more educational at the same time.
Decorative elements: Colored paper, glitter, beads, etc. add visual appeal to the box and support the theme.
Examples and Ideas
Be creative when gathering materials and consider your children’s interests. For example, if a child loves dinosaurs, you can make a “Jurassic Park” themed box. For this box, you can use green pasta (herbs), plastic dinosaur toys and stones (representing the habitat of dinosaurs).
Another example is to choose themes that correspond to the seasons. For an autumn themed box, you can use dry leaves, pine cones and glitter in autumn colors. This is a nice way to teach children about the changing seasons.
You can also add materials for learning colors, numbers or letters of the alphabet to make thematic boxes educational. For example, to learn numbers, you can add different numbers of beads or different colors of materials and ask children to sort them.
The important thing in this step is to choose materials that will trigger children’s imagination and curiosity, but also help them learn. Since each child’s interests are different, personalizing these boxes will engage them more.
What did we do?
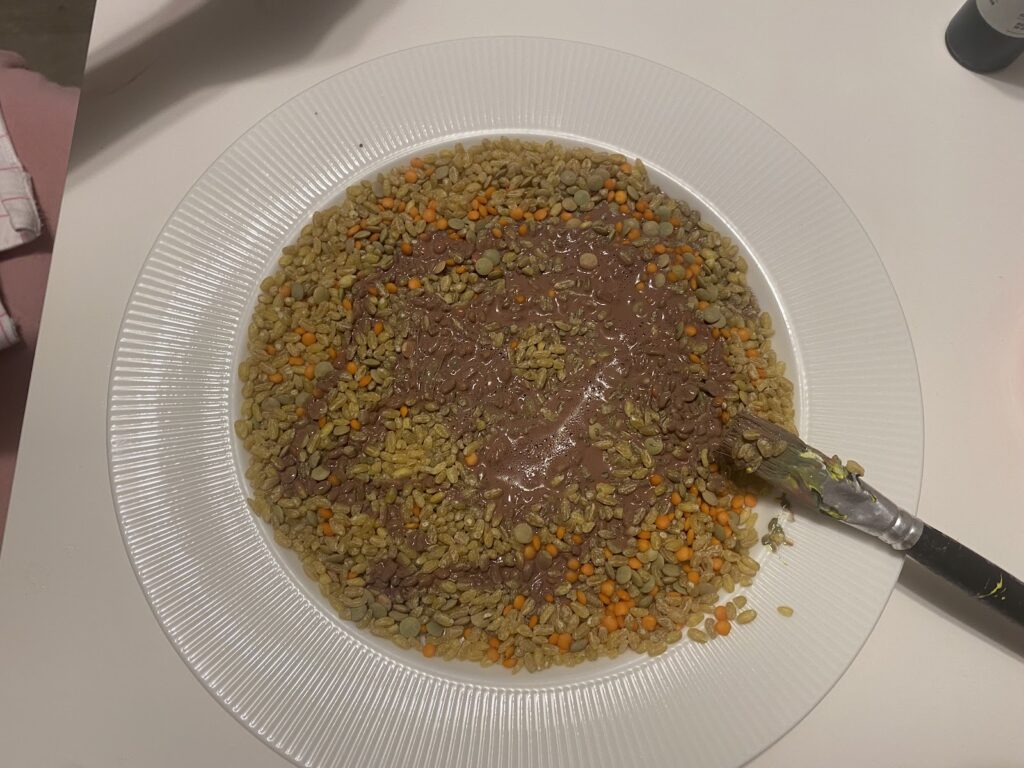
- We made a dirt road from bulgur, lentils and rice.
In the first step of this activity, we used bulgur, lentils and rice: making a dirt road. These materials, with their various textures and colors, are excellent tools to enrich children’s sensory experiences. Here is a detailed description of this step:
The aim of making a dirt road is to offer children the opportunity to discover the diversity and beauty of the natural world, while at the same time developing their hand-eye coordination and fine motor skills when working with different materials.
Materials
- Bulghur: The small, yellow grains represent the texture of the soil and are used to make roads.
- Lentils: Different colored lentils symbolize the diversity and natural textures of the path.
- Rice: White and shiny grains provide the bright spots and textural contrast of the path.
How it is made
Planning First, plan where and how the dirt road will be built. Work with the children to discuss where they will build the path and what materials will be used where. This process develops children’s planning and organizational skills.
– Preparing the Materials: Before you start making the path with bulgur, lentils and rice, put these ingredients in different containers. Allow children to explore each ingredient and feel the textures.
– Designing the path: Together with the children, create your dirt path in the selected area. Pave the path using bulgur, lentils and rice. Children can pour the materials freely or use tools such as pinsets to create a specific pattern.
– Textural Exploration: Once the path is complete, allow children to feel the different textures by walking on it with their hands or feet. This further enriches their sensory experience.
– Observation and Discussion: After you have completed your path, talk with the children about the work you have done together. Discuss what materials were used, why they chose these materials and how the path felt.
2 – We used noodles for grass.
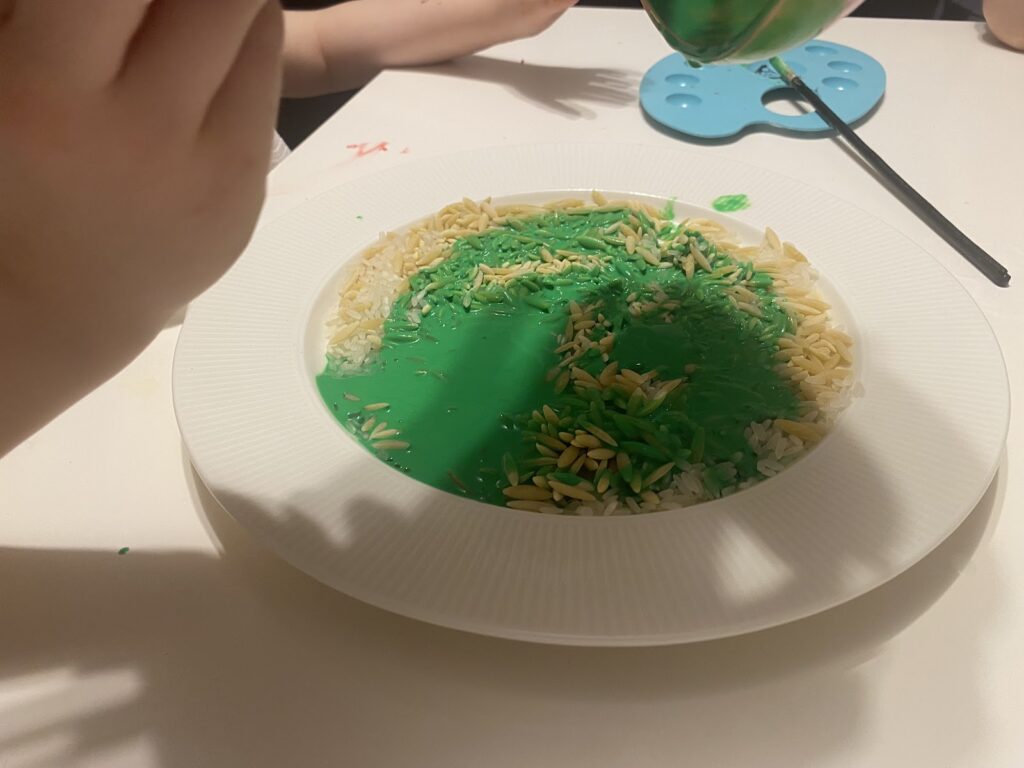
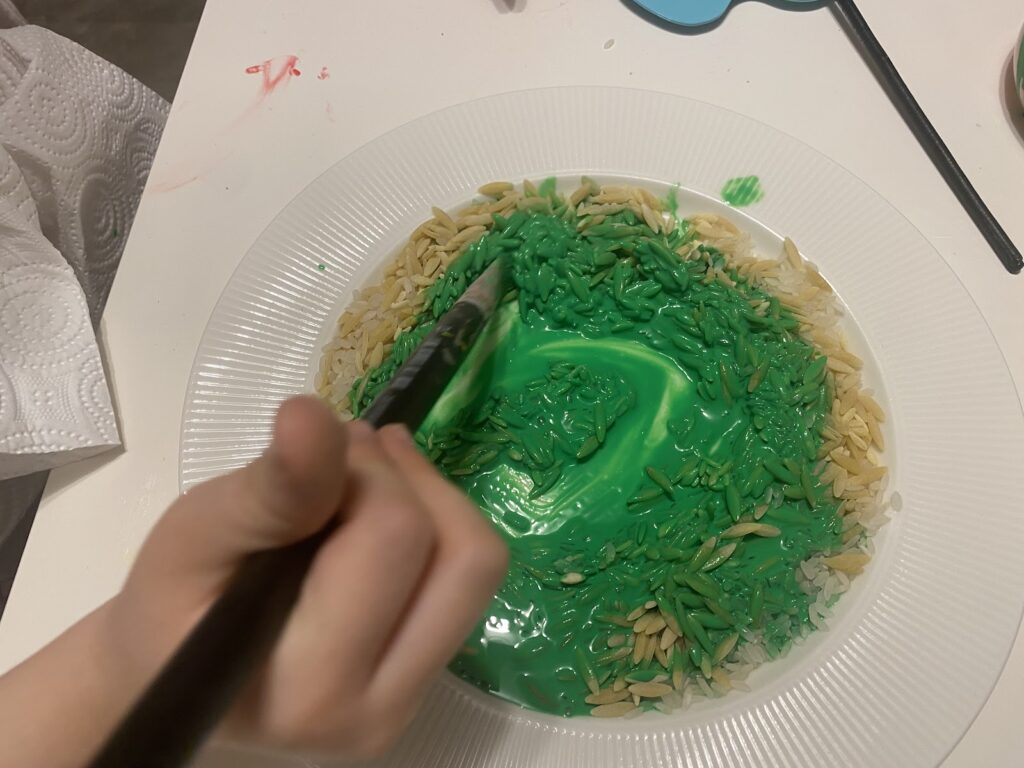
We added a natural touch to our project by using noodles as grass. In this process, we painted the noodles with green watercolor paint, aiming to develop children’s artistic expression skills and their ability to recognize colors. Here are the details of this step:
The aim of this step is to teach children about colors and painting techniques and at the same time show them how to work creatively with materials that mimic nature. Creating a grass effect using dyed noodles adds realism to the project as well as enriching children’s sensory experience.
Materials
Noodles: To be used to represent grass.
Green watercolor: To paint the noodle the color of grass.
A container: The container in which you will put the noodles for the dyeing process.
A mixer: It will be used to mix the paint and the noodles.
Preparation
Paint Preparation: Pour the green watercolor paint into the container you will use for painting. Adjust the amount of watercolor according to the amount of noodles you want to color.
Coloring the Noodle: Add the noodles into the dye and mix well with a mixer. To ensure that all the noodles are evenly colored, keep stirring until they are completely covered with the dye.
Drying: Spread the dyed noodles on a newspaper or kitchen napkin and leave to dry. It’s a good idea to stir occasionally so that the noodles don’t stick together.
Creating a Grass Effect: Once the noodles are completely dry, scatter them as grass in the area where you have made a dirt path. Children can use their creativity in this process and place the noodles in any way they like.
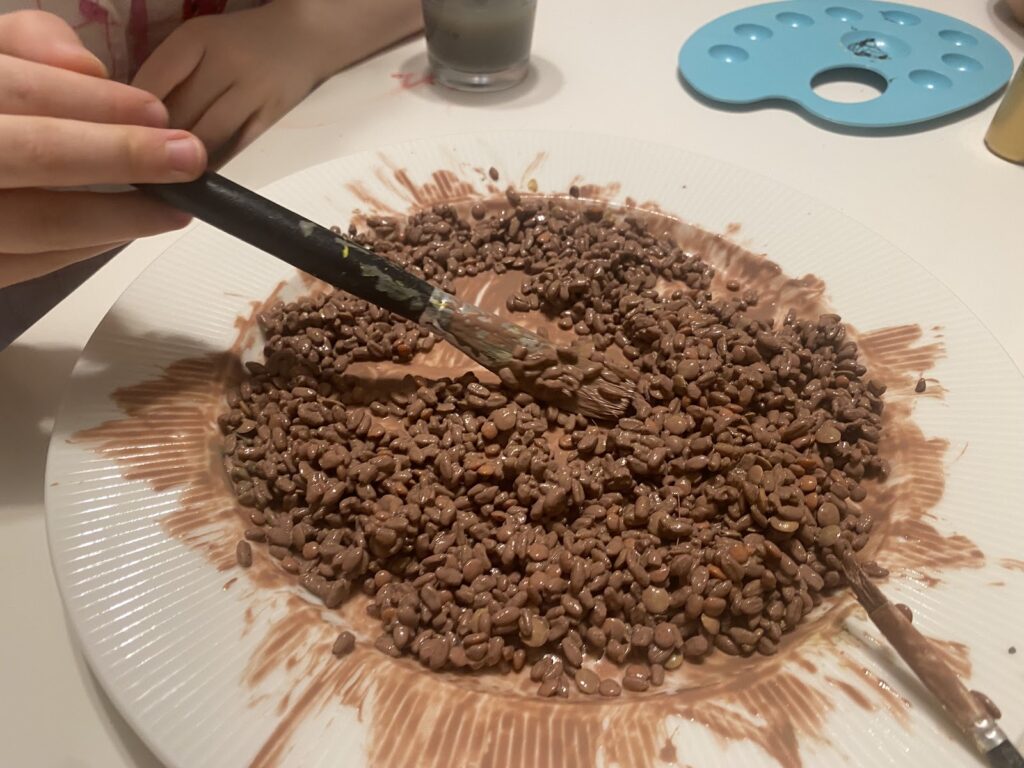
3 – We painted the beans gray to give them the appearance of stones.
In the third step of our activity, we painted the beans gray to give them the appearance of stones. This process develops children’s ability to recognize and mix colors, as well as their ability to imitate natural elements. Here are the details of this step:
The aim of this step is to show children ways to create natural looks using different materials. Painting beans gray to look like stones encourages artistic expression and creativity, while developing children’s sensory perception.
Beans: To be used to create the appearance of stones.
Gray watercolor: To paint the beans.
A container: The container in which you will put the beans for the painting process.
A stirrer: It will be used to mix the paint and the beans.
Preparation.
Paint Preparation: Pour the gray watercolor paint into the container you will use for painting. Adjust the amount of paint according to the amount of beans you want to paint.
Painting the Beans: Add the beans to the dye and mix well with a mixer. Stir well so that the beans are completely dyed and evenly grayed.
Drying: Spread the dyed beans on a newspaper or kitchen napkin and let them dry. It is important to stir occasionally so that the beans do not stick together and dry evenly.
Creating a Stone Look: Once the beans are completely dry, place them in the desired places in your project to create the appearance of stones. This process allows children to add a natural touch to the project while developing their spatial thinking and planning skills.
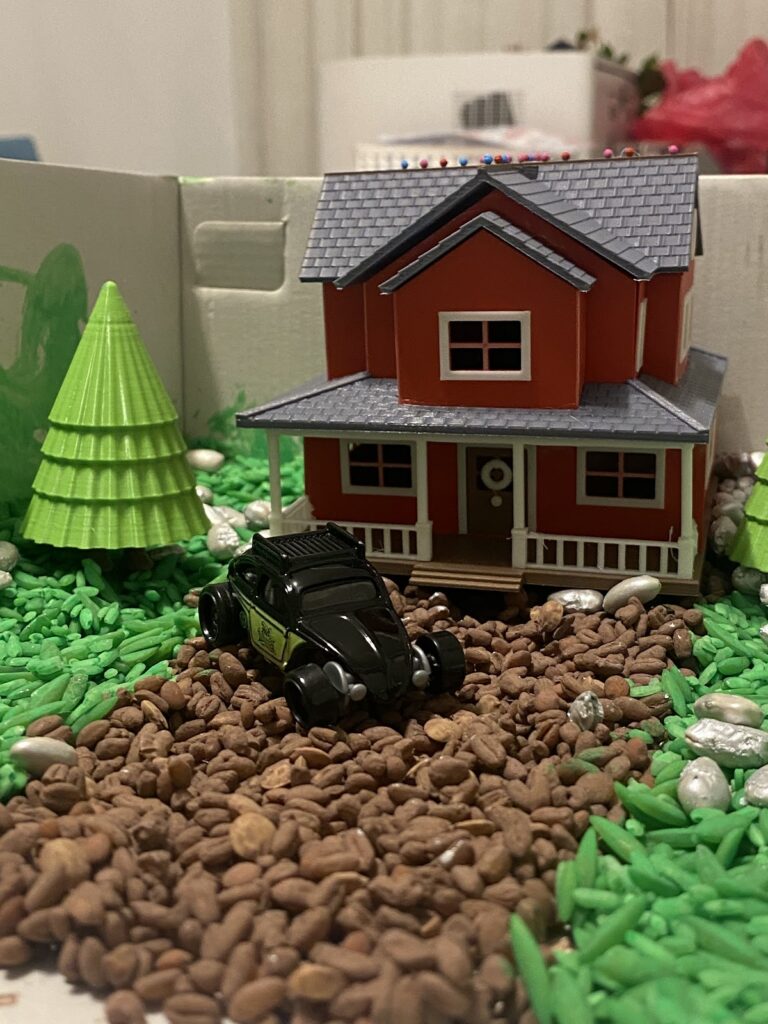
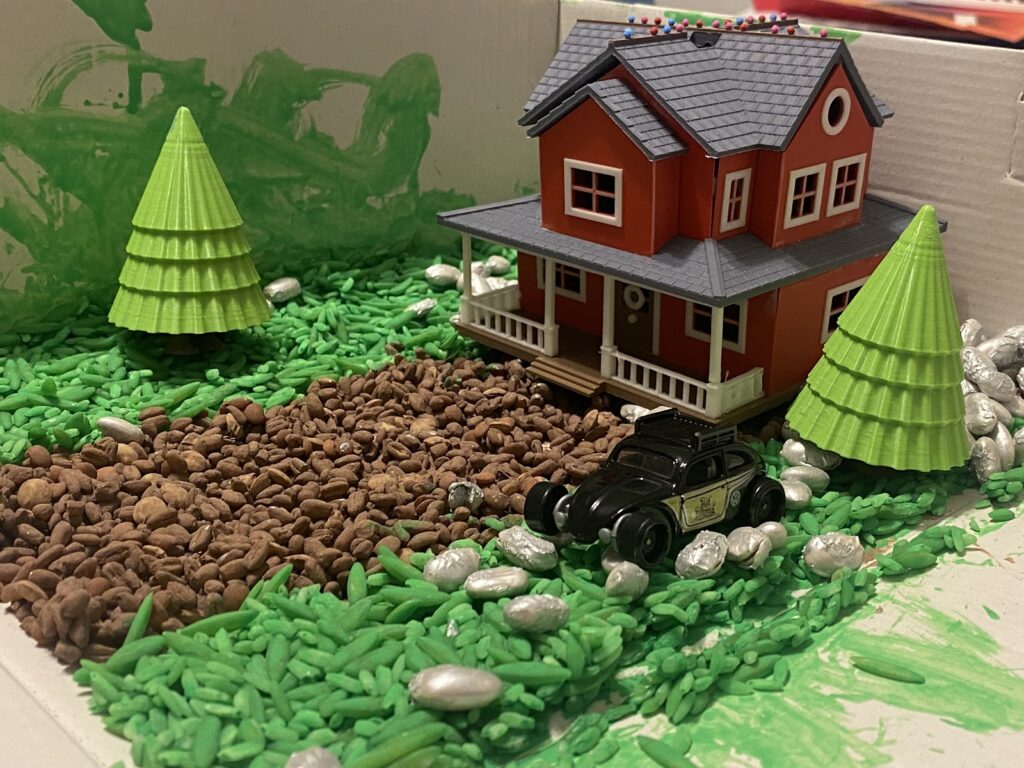
To add color and life to our project, we added grass to the edges and placed a characteristic dirt road in the middle. We decorated the edges with green painted noodle grass and placed the dirt road with a mixture of bulgur, lentils and rice in the center of the project. These steps made our project more dynamic and visually rich.
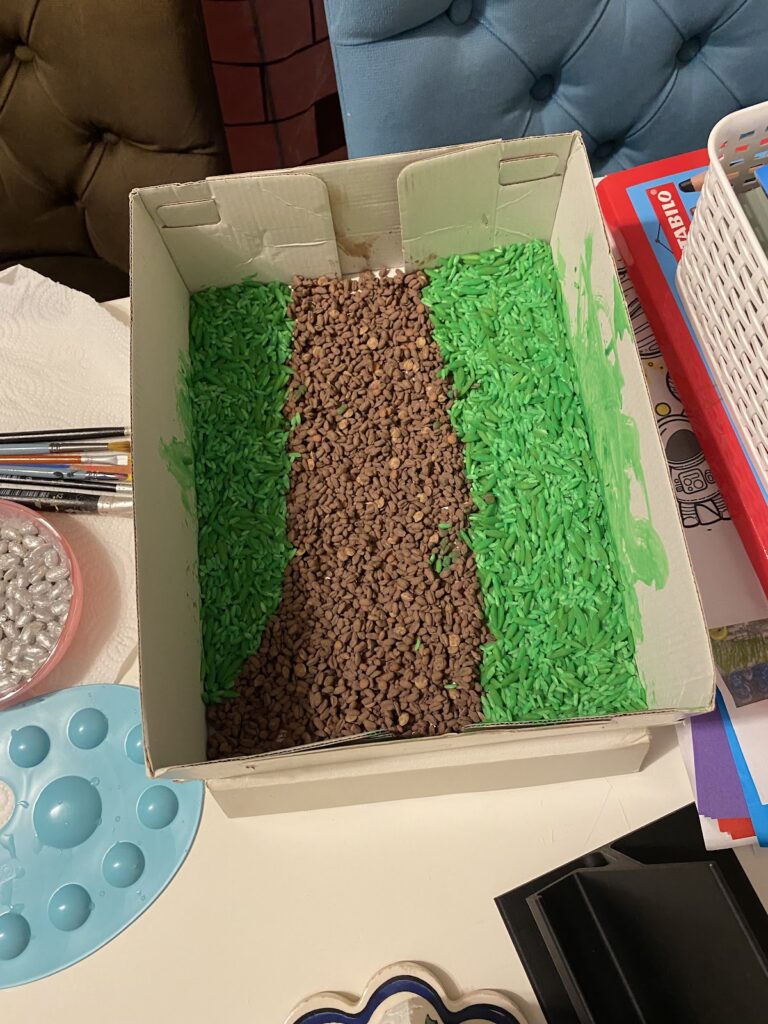
And finally, it was time to add the finishing touches to our miniature world. By placing two toy trees, a house and a car on the stage, we created a small living space. At this stage, each toy was carefully selected and positioned to support the thematic integrity of our project.
The toy trees added even more naturalness and depth to our scene, which already had a vibrant atmosphere with our green noodle grass. By strategically placing them on either side of the dirt path, we imagined the coolness and shade that someone walking along the path would feel. These trees symbolize peace and calm as part of life and nature in our miniature world.
Next, we added a lovely house, which forms a living center to our project and is positioned at the end of the dirt road, reinforcing the idea of the road as a destination. The house enhances the warmth and comfort of the scene and offers a home to the inhabitants of our miniature world.
Finally, we incorporated traces of movement and modern life into our project by placing a car. The car stands on the dirt road and seems to be on its way to the front of the house. With these additions, our scene came alive not only with natural beauty, but also with the dynamics of human life.
In addition to adding story and character to our miniature world, these toys provided a backdrop for viewers to imagine their own stories. Each of them, as part of this small scene, took their place in the whole, giving meaning and life to our project. Thus, a simple sensory box activity turned into a work of art that encourages imagination and creativity, showcasing the power of storytelling.
