Scientific experiments are an excellent way for kids to learn while having fun. One of the best ways to teach complex concepts is by connecting them to real-world examples and conducting hands-on experiments.
In this blog post, we’ll explain how you can teach the concept of “density” through a simple yet engaging experiment that uses materials you likely already have at home!
What Is Density?
Density is a measure of how tightly packed the matter in an object is. Simply put, it helps us understand whether something is “heavy” or “light” for its size. When you compare two objects of the same size, the one with greater density will be heavier. This is why denser objects sink, while less dense ones float.
But how can we explain this to kids?
How to Explain Density to Kids
To explain the concept of density to kids, try using an easy-to-understand example that grabs their attention:
Imagine we drop a balloon and a rock into water. Which one will float? The balloon floats, but the rock sinks, right? That’s because the balloon is less dense, while the rock is more dense. The balloon is filled with air, making it less dense than water, so it stays on top. The rock is much denser, which makes it sink to the bottom. We can test this same idea using liquids!
The Density Experiment: Step-by-Step Guide
By doing this experiment with your kids, they will learn and have fun at the same time. Here’s how you can conduct the experiment:
Materials Needed:
- 1 cup of water
- 1 cup of vegetable oil (extra virgin or regular olive oil works)
- 1 cup of honey
- A clear glass jar or large glass
- Various small objects (plastic piece, metal coin, grape, button, etc.)
- Optional: Food coloring (to color the liquids)
Steps:
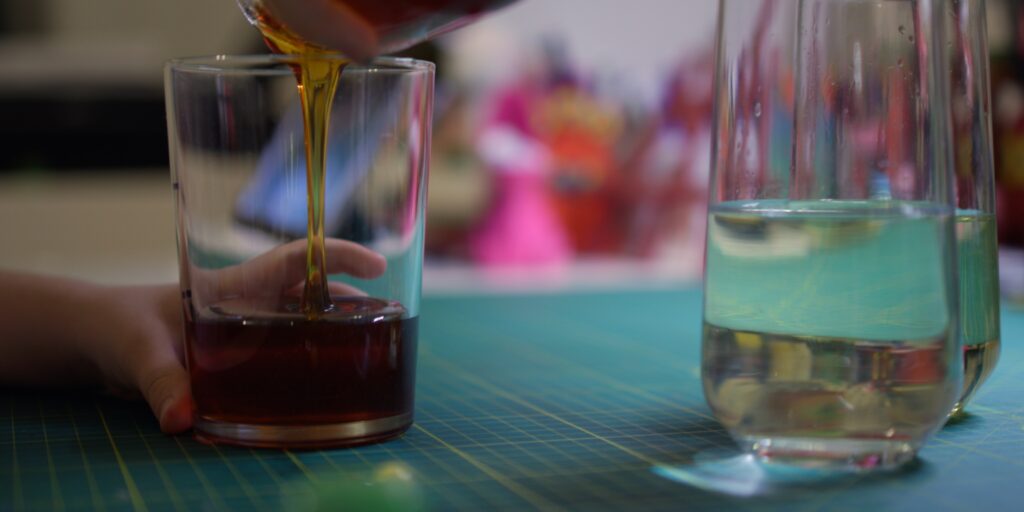
Step 1: Pour the Honey
First, pour honey into the bottom of the jar. Honey is very dense, so it will settle at the bottom. You can explain to your child, “Honey is very heavy, so it sinks to the bottom.”

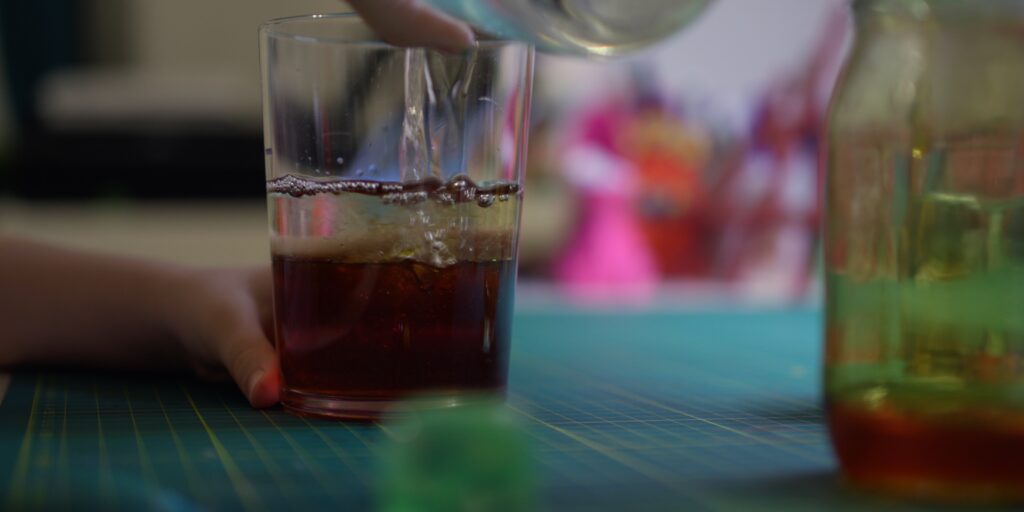
Step 2: Pour the Water
Next, carefully pour the water on top of the honey. Water is less dense than honey, so it will sit on top of it. At this point, you can introduce the concept of density by saying, “Water is lighter than honey, so it stays on top, even though it’s still heavier than oil.”

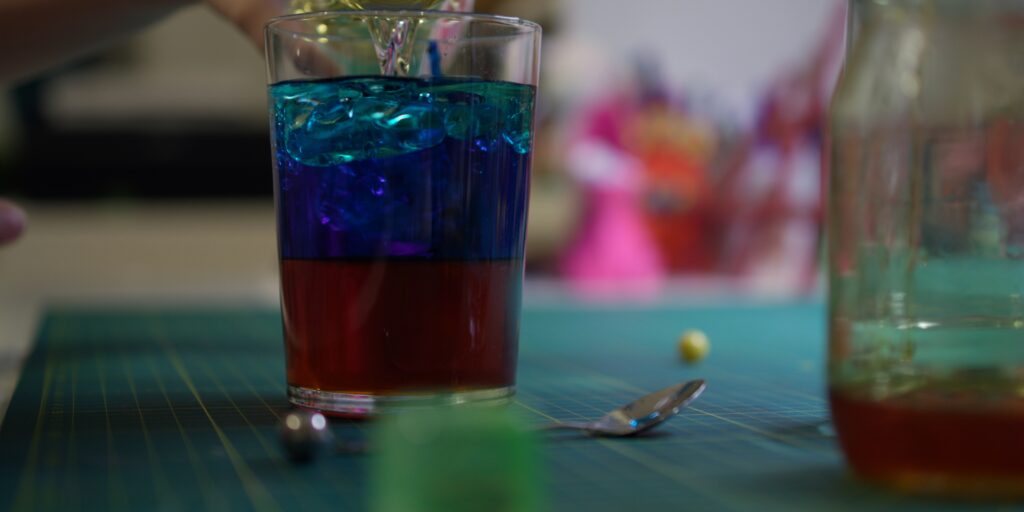
Step 3: Pour the Oil
Finally, slowly pour the oil on top of the water. Oil is much less dense than water, so it will float on top. You can explain to your child, “Oil is the least dense of all three liquids, so it floats to the top!”

Add Small Objects to the Liquids
Now for the fun part! Take various small objects and drop them into the jar to see where they settle. Here are a few examples:
- Plastic piece: Plastics are usually light and will float in the oil layer.
- Metal coin: Coins are very dense, so they will sink all the way down to the honey.
- Grape: A grape has moderate density and will likely float in the water layer.
The Science Behind It
The arrangement of the liquids and objects is based on their densities. Honey, water, and oil do not mix because their densities are different. The denser the substance, the more it sinks. Honey, being the most dense, settles at the bottom, water stays in the middle, and oil, being the least dense, floats on top. Similarly, objects with higher densities sink to the bottom, while less dense ones float.
Here’s how you can explain it simply to your child:
“Everything has a weight, or density. Some things are so dense that they sink to the bottom, while others are lighter and float on top. Liquids work the same way. Honey is very dense, so it stays at the bottom. Oil is much lighter, so it floats on top of the water!”
Expand the Experiment
You can expand this experiment by using different liquids and objects. Ask your child, “What other liquids might create different layers?” For example:
- Try adding corn syrup or rubbing alcohol as additional liquids.
- Experiment with different objects made of various materials (wood, glass, plastic).
What Kids Learn from the Experiment
Through this experiment, kids will:
- Understand the concept of density.
- Learn why some liquids don’t mix.
- Discover how density is not just about weight but also about the composition of matter.
- Develop their scientific thinking and observational skills.
The density experiment is a fun and educational activity for kids. It’s simple to set up at home, and it piques children’s curiosity about how the world works. Experiments like this are a fantastic way to teach kids complex scientific concepts in a way that’s easy to understand. After the experiment, your kids will have a better grasp of why liquids and objects behave differently in water and other substances.
Enjoy conducting this experiment with your child, and encourage their curiosity for science!


