Every home can transform into a small laboratory waiting to be explored. Especially at the intersection of science and art, and when you push the boundaries of your imagination… Today, I’ll show you how to create fascinating crystal structures using simple ingredients from your kitchen. This is a fun and educational activity not just for children, but for curious minds of all ages. In our adventure titled “Homemade Colorful Crystals,” we step into the dazzling world of science and discover how we can recreate one of nature’s most astonishing processes, crystallization, in our own homes.
Growing crystals is not only about creating one of nature’s most elegant artworks but also a process that requires patience and attention. Whether approached as a scientific experiment or an artistic project, the result is always eye-catching. This activity offers a great opportunity to make the most of time spent at home, spend quality time with children, and help them develop a love for science. It’s also inspiring for anyone who wants to push the boundaries of scientific experiments that can be done at home.
In this blog post, I’ll explain step by step how to create your own crystal garden. You’ll observe how crystals take shape in the magical world of your solution and perhaps rediscover your passion for science. If you’re ready, let’s begin our journey to becoming a science wizard at home!
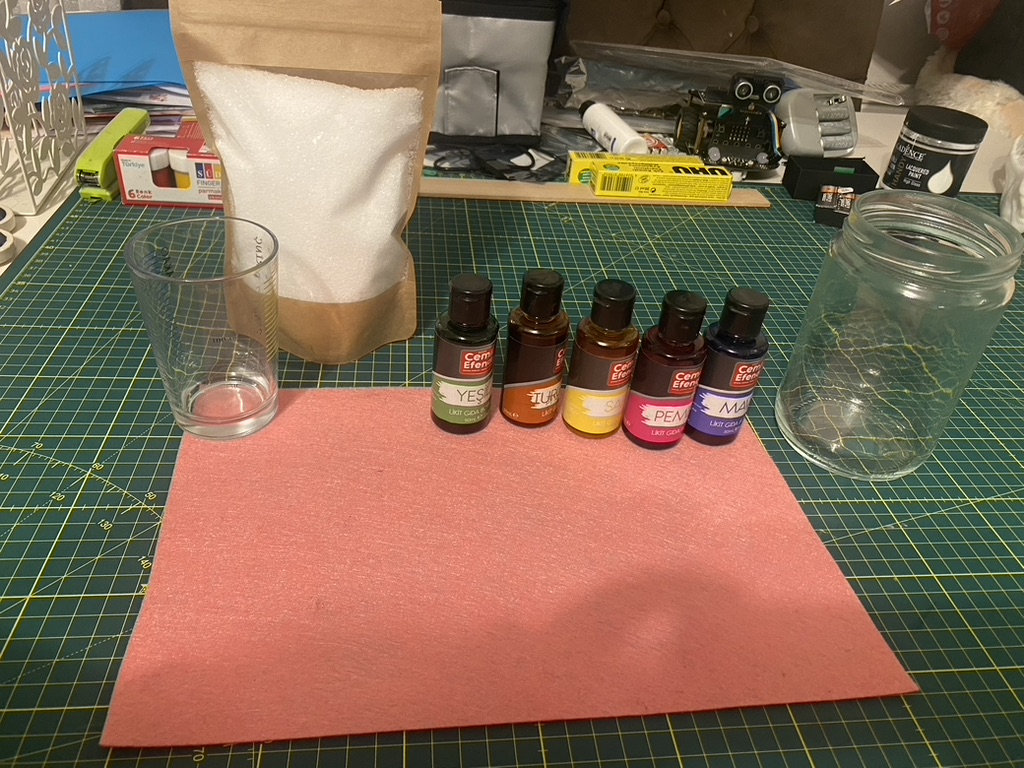
Materials List
- Epsom Salt (MgSO₄·7H₂O): The basic material for crystal growing. Epsom salt can be easily found in markets or pharmacies. You can also find it as English salt.
- Hot Water: Necessary for dissolving Epsom salt. It’s important for the water to be as hot as possible for better dissolution of the salt.
- A Measuring Cup: To measure the amounts of water and salt when preparing the solution.
- A Stirring Rod or Spoon: To stir the salt until it completely dissolves in water.
- A Transparent Container or Jar: To observe the crystal growth process. This is the main environment where you’ll grow your crystals.
- Food Coloring (Optional): If you want to obtain colored crystals, you can add a few drops of food coloring to the solution.
- Seeding Material (Optional): For crystals to grow on; string, wire, small stones, seashells, or other small objects you want to decorate.
- A Paper or Plastic Tray: To prevent crystals from spilling and to protect your table during the process.
- A Lid or Plastic Wrap: Used to control the evaporation of the solution and prevent environmental dust from entering. Creating a closed environment can be helpful if you want to slow down the crystal growth process.
- Patience: Crystal growth takes time, so it’s important to be patient while waiting for the process to complete.
Step 1: Preparing a Saturated Salt Solution
- Heat the Water: First, heat an adequate amount of water to prepare the solution in which you’ll grow your crystals. Adjust the amount of water according to the size of the container you’ll use for crystal growing. The water needs to be very hot but don’t let it boil, as this makes it easier for the salt to dissolve in the water.
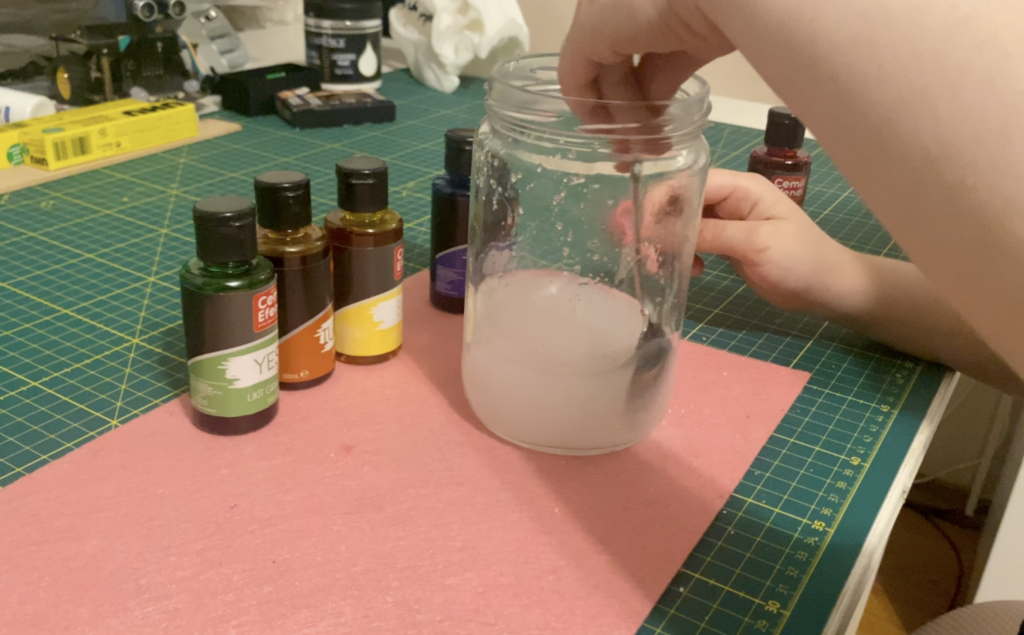
- Add Epsom Salt: Slowly start adding Epsom salt to the hot water. Stir continuously with a stirring rod or spoon to ensure the salt dissolves completely. Wait for the mixture to become clear and homogeneous to ensure the salt has fully dissolved.
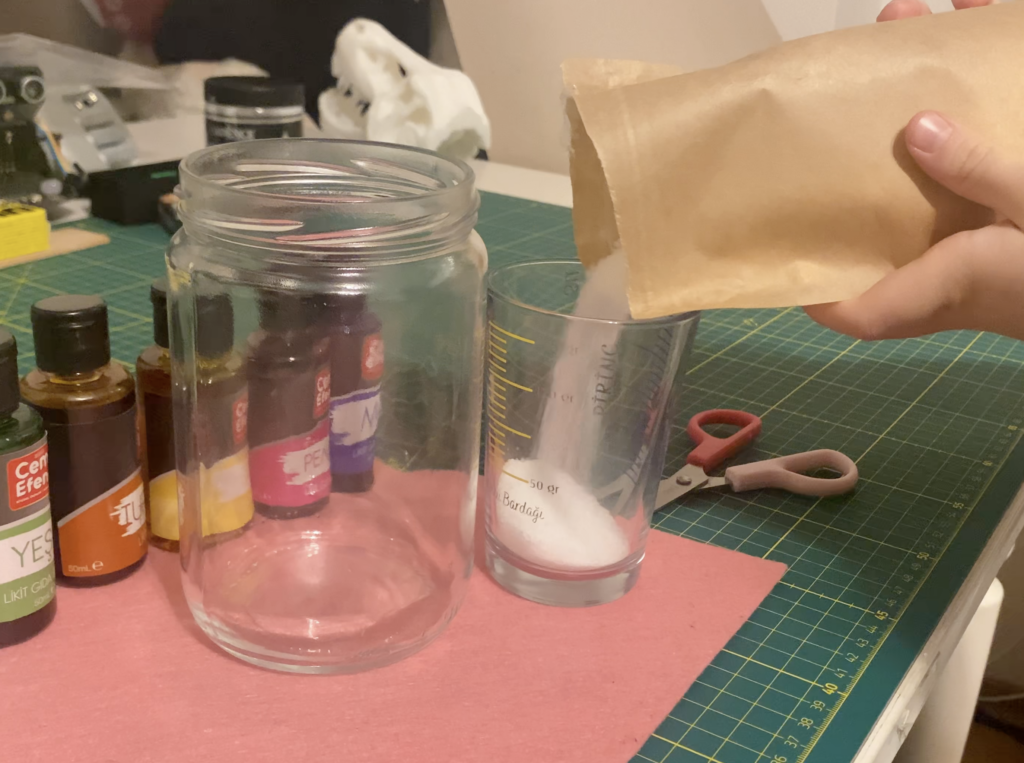
- Obtain a Saturated Solution: Continue adding salt until the point where salt you add no longer dissolves and salt crystals begin to accumulate at the bottom of the solution. This indicates that your solution is saturated and can no longer dissolve more salt. A saturated solution provides the maximum salt concentration necessary for the crystal growing process.
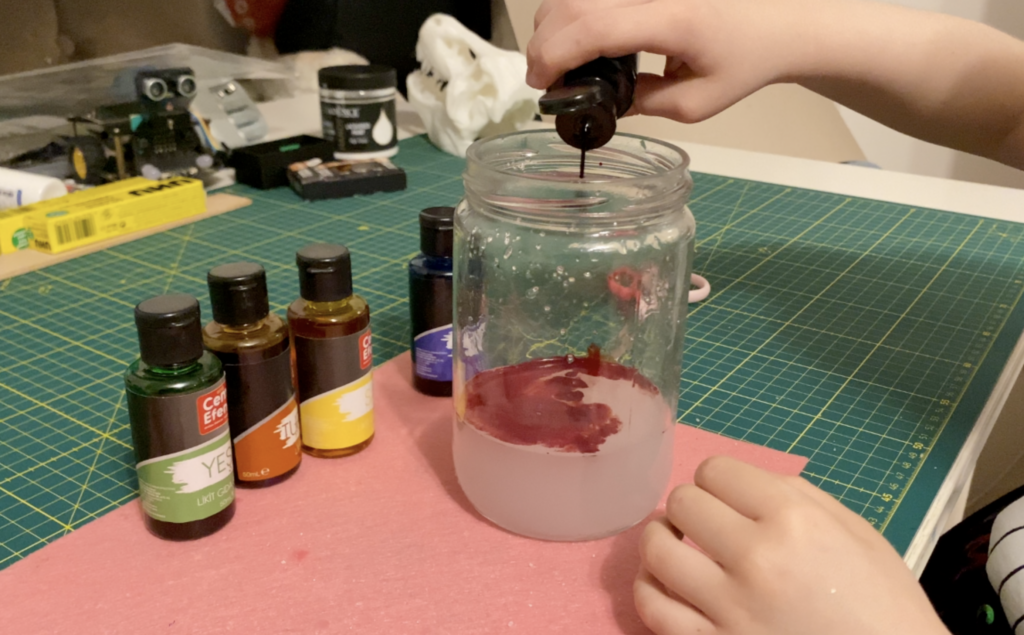
- Color (Optional): If you want to obtain colored crystals, you can add a few drops of food coloring to the solution at this stage. Consider the appearance of the crystals you’ll ultimately obtain when choosing your color. Mix the food coloring well so that the color is distributed homogeneously.
Step 2: Preparing the Crystal “Seeding” and Growth Environment
In this step, you’ll prepare the environment where your crystals will grow and perform a “seeding” process to initiate crystallization.
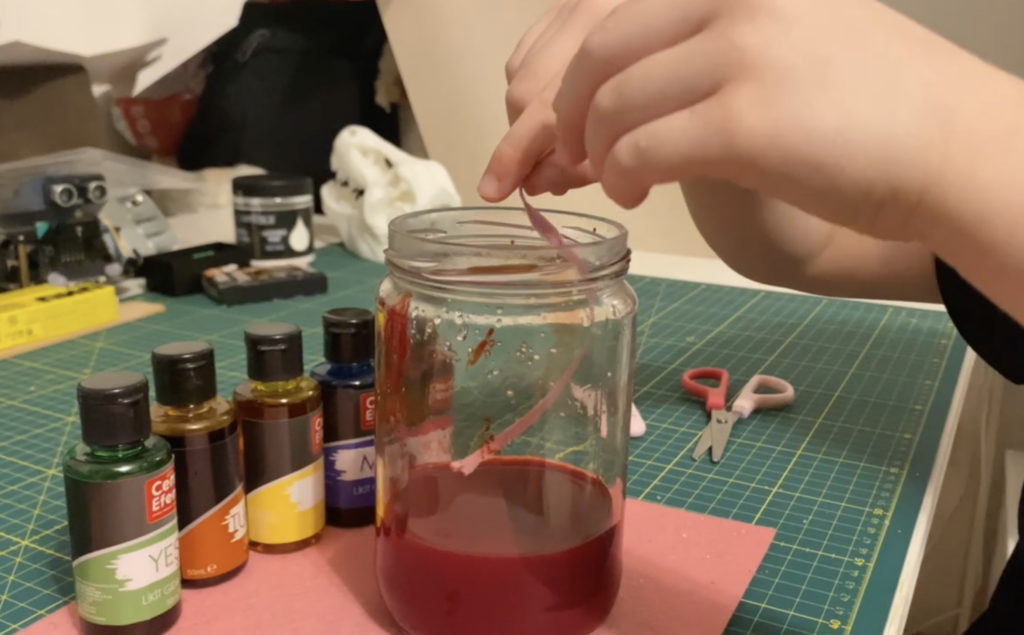
- Choose Seeding Material: Select a surface or object for the crystals to grow on. This can be a piece of string, a small stone, a seashell, shaped wire structures, or any object you want to decorate. It’s important that your chosen seeding material can be easily immersed in and removed from the solution.
- Immerse the Material in Solution: Carefully place your chosen seeding material into the saturated salt solution you prepared. Make sure the material is completely covered with the solution. If you’re using string or a similar material, you can secure one end to the top of the container so it hangs suspended in the solution.
- Storing the Solution: Store the crystal growth environment in a stable location away from direct sunlight and temperature fluctuations. This helps crystals grow evenly and steadily.
- Waiting and Observing: Wait a few days for crystals to begin forming. During this process, the solution will slowly evaporate, and salt crystals will begin to accumulate on the seeding material. The rate of crystal growth can vary depending on environmental conditions, the saturation of the solution, and the type of material used.
- Track Progress: Regularly check the growth of the crystals. If the crystals have grown sufficiently or if the solution has evaporated too much, you can remove the crystallized object from the solution and clean off excess salt before allowing it to dry.
This step is the most exciting part of the crystal growing process because it offers an opportunity to observe how crystals form and grow. Be patient and enjoy watching your crystals grow.
Step 3: Harvesting the Crystals and Final Processes
In this step, when your crystals have reached sufficient size, you will carefully remove them from the solution and perform the final processes.
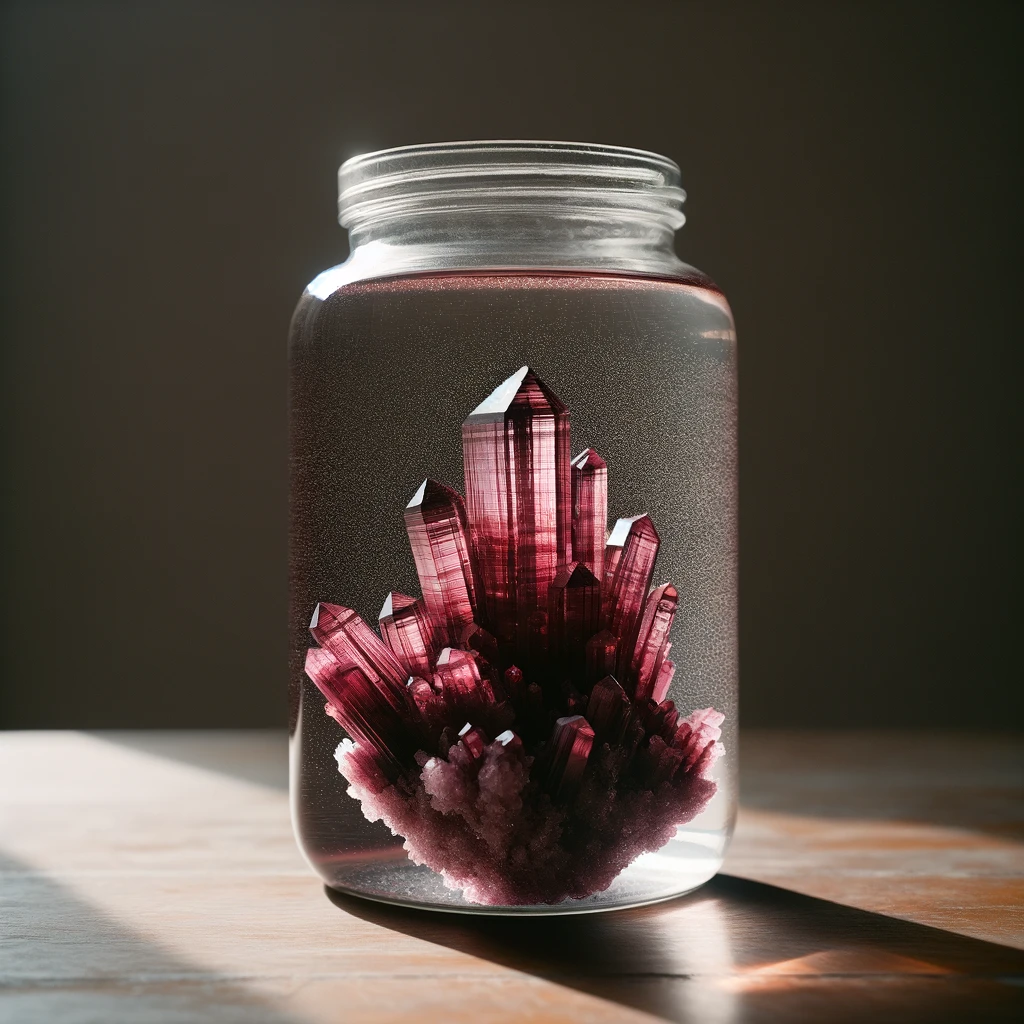
- Remove Crystals from Solution: When the growth process of your crystals is complete, carefully remove the seeding material from the solution. Take care not to damage the crystals during this process.
- Clean Excess Salt: You can gently rinse the crystals with water to clean off excess salt. However, you may choose to skip this step and let them dry naturally, as water might dissolve some of the crystal structures on the surface. Your choice may depend on the final appearance you desire for your crystals.
- Allow to Dry: Place the crystals on a clean paper towel for excess water to evaporate and for them to dry completely. This process enhances the shine and strength of the crystals.
- Display: After your crystals are completely dry, you can place them in a display area. This could be a shelf, tabletop, or any flat surface. Optionally, you can use LED lights to illuminate your crystals, highlighting their shine and colors.
- Observation and Evaluation: Observe the final form of your crystals and evaluate the process. Consider which crystals were more successful, which colors and shapes you liked. These observations can provide valuable information for your future crystal growing projects.
- Knowledge Sharing: Share your experience with friends, family, or on social media, sharing what you’ve learned about the crystal growing process with others. This can inspire others to discover this fun and educational experience as well.
When the crystal growing project is complete, enjoy the results you’ve obtained and remember that each of these scientific works of art is a product of patience and careful work. The unique beauty of each crystal symbolizes the endless possibilities that await you in your journey to discover the wonders of nature.
Benefits of crystal growing projects for children
Crystal growing projects strengthen children’s relationship with science while also providing them with valuable life skills. Such activities trigger students’ curiosity and encourage active learning. We can summarize the benefits of crystal growing projects for children as follows:
1. Understanding Scientific Method and Thinking:
Crystal growing teaches children the basic steps of the scientific method, such as forming hypotheses, conducting experiments, and observing results. This process helps children understand cause-effect relationships and develop scientific thinking skills.
2. Patience and Observation Skills:
The crystal growth process takes time. This teaches children the importance of not expecting quick results and patiently watching the development of things. Also, regularly checking how the crystals change strengthens careful observation skills.
3. Creativity and Innovation:
Crystal growing projects inspire children to explore science and design their own projects. Making colored crystals, trying different “seeding” materials, or displaying crystals in unique arrangements reveals children’s creativity and innovation abilities.
4. Mathematics and Geometry Skills:
The geometric shapes of crystals allow children to recognize shapes, symmetry, and patterns. This develops their mathematical thinking and geometry skills.
5. Responsibility and Management:
A crystal growing project teaches children the responsibility of starting, maintaining, and completing a project. Throughout the project, tasks such as preparing the solution, regularly checking the crystals, and evaluating the results develop time management and organizational skills.
6. Teamwork and Communication:
When done in groups, crystal growing projects teach children the importance of teamwork and effective communication skills. Exchanging ideas with friends and working together develops their social skills.
7. Curiosity and Respect for Nature:
Understanding how crystals form gives children an opportunity to appreciate the complexity and beauty of the natural world. This can increase interest and respect for the environment.
The crystal growing project is an excellent example of the “learning by doing” approach in education. Such activities that help children love science, encourage them to acquire new skills, and inspire them for future learning adventures are a valuable part of the teaching process.
What have we learned? How would you explain this scientifically to a child?
1. Explaining Gravity and the Crystallization Process:
- Simple Explanation: “Did you know? When we mix salt and water, the water starts to evaporate and the salt stays behind. Salt dissolves in water, but as the water evaporates, the salt comes together and solidifies, and this forms crystals. This process is called crystallization. Just like ice crystals forming on window edges in winter, we’re making crystals from salt.”
2. Explaining the Concept of Saturated Solution:
- Simple Explanation: “Water cannot hold more than a certain amount of salt. Just like a bag can’t fit more toys, when we add too much salt to water, it no longer dissolves and settles to the bottom. We call this situation a ‘saturated solution.’ Our magic water is like this too, we’ve put as much salt in it as we could!”
3. Preparing the Crystal Growth Environment:
- Simple Explanation: “For crystals to grow, we need to help them a little. We do this by using a ‘seed,’ which provides a place for crystals to start growing. This ‘seed’ can be a piece of string, a stone, or something similar. Crystals start growing around this ‘seed.'”
4. Observation and Patience:
- Simple Explanation: “Observing crystals grow will be a lot of fun. We’ll see them getting a little bigger every day. But remember, this might take some time, so we need to be patient. Patience is very important in science!”
5. Evaluating the Results:
- Simple Explanation: “When our crystals have fully grown, we can think about how we can make them in different shapes and colors. Maybe we can try different salts or dyes. In science, there’s always a way to experiment and learn new things!”
Thank you for reading our blog! Your thoughts, questions, and experiences are very valuable to us. Please share with us what you think about your crystal growing experience, your experiences, and any suggestions you might have. We’re always open to reader comments and look forward to your feedback with great interest. We’re happy to learn and grow with you on this scientific journey.


